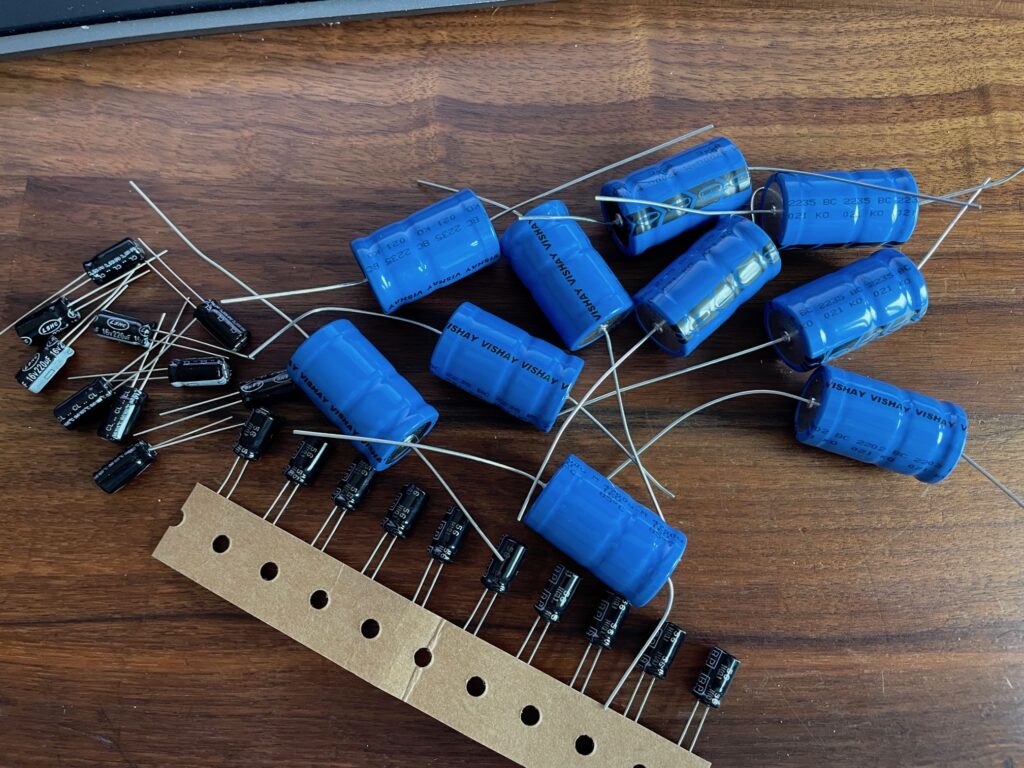
Recieved the new capacitors (Axials too) to recap the whole Zyklus.
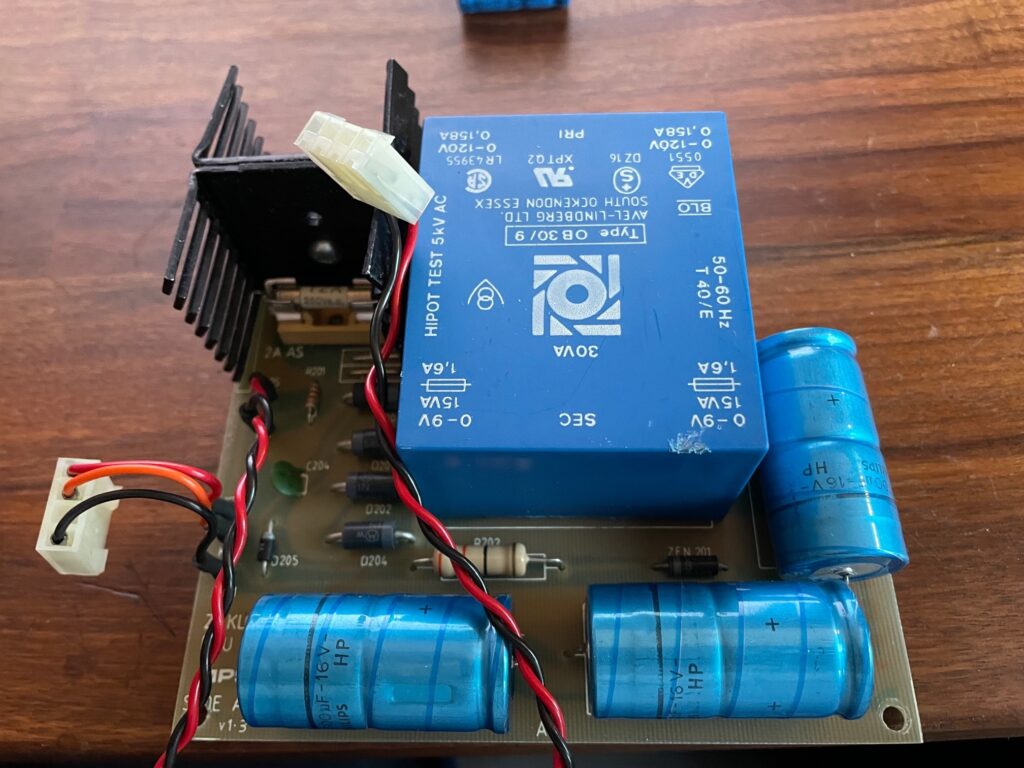
Yesterday, I started with the powersupply, as that is the most important part and these capacitors have to work the hardest.
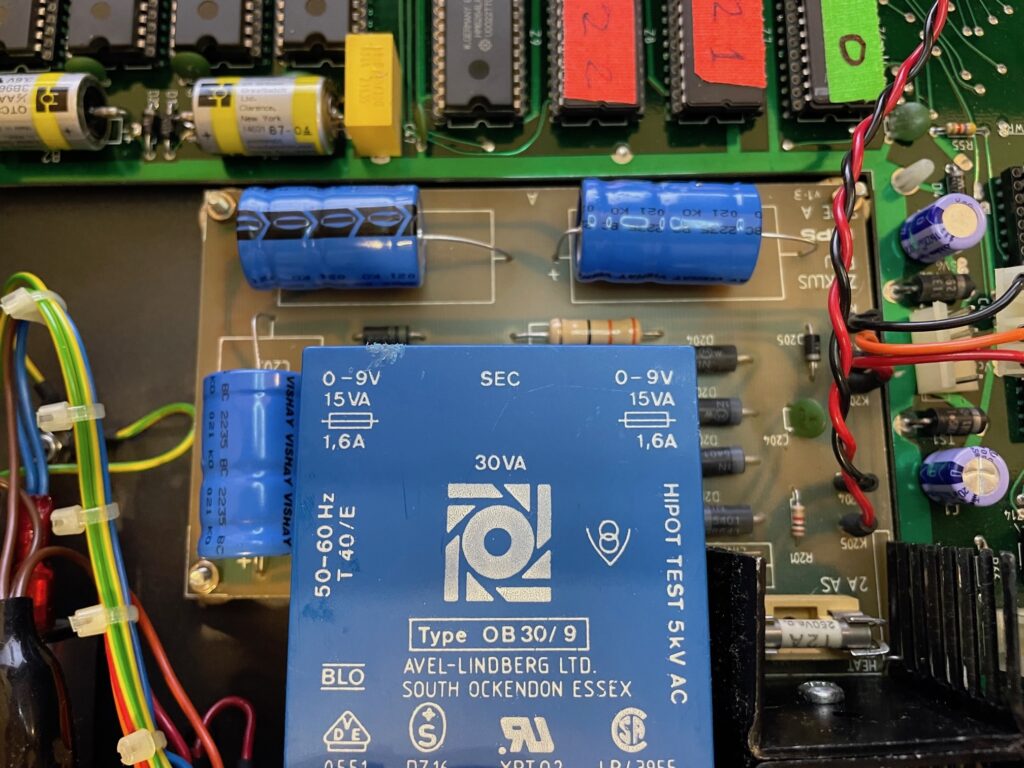
This is the powersupply board. It has three 4700uf 16v axial caps:
The procedure is quite simple:
- Desolder the old cap
- Clean the solder pad with wick so that it’s flat, nice and shiny.
- Add flux (I always add extra flux, even when using resin core tin)
- insert the new cap (mind the polarity!!)
- Neatly solder quickly and snipe off the excess.
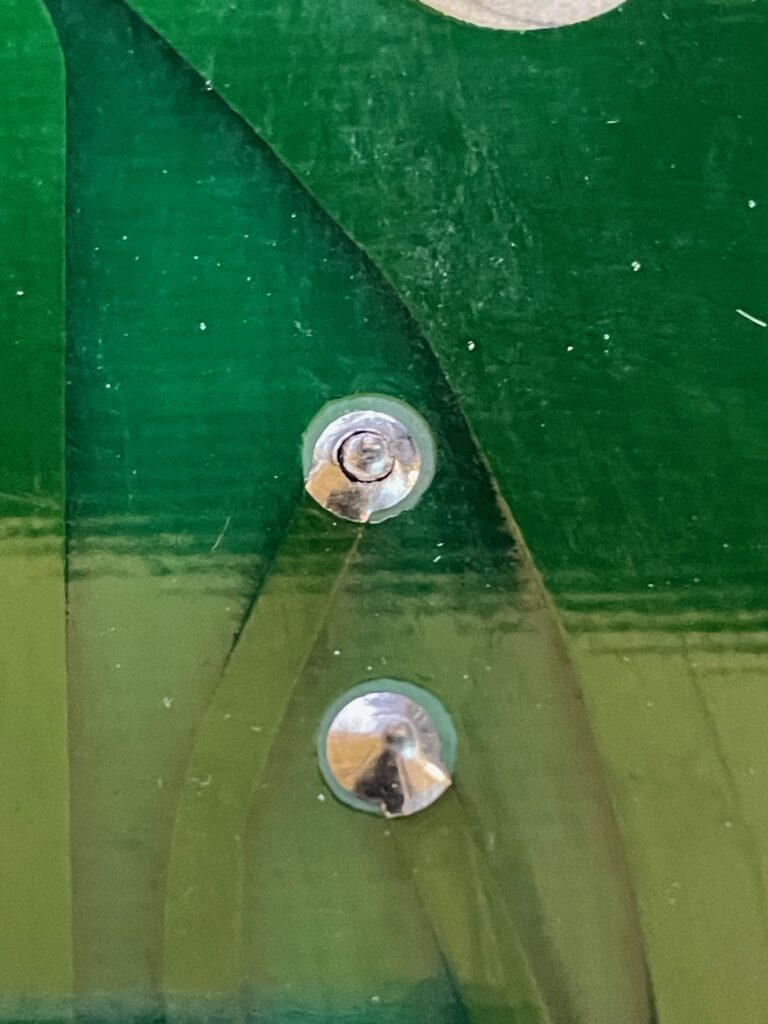
While looking at the backside, I discovered a ‘cold’ solder joint. This happens on older equipment, where a solder joint just breaks. It can cause interemittend contact or completely no contact.
especially on parts that warm up, these can be a cause for weird behaviour. My Zyklus crashed often on seemingly weird moments. This could have been the cause.
Thankfully, the solution is easy: just reflow:
- Heat up with additional solder until the old joint melts and flows into a new joint.
- After cooling down, it should be a shiny joint again.
Last stap is a check, *before* connecting the PS to the boards:
- Connect the PS to the mains and turn it on
- Measssure the power rails to make sure you get a nice clean 5v output.
- wait 10 minutes with power on and check again.
If you still have a clean 5v output, disconnect the mains and put everything together.
All done!