A lot has been happening. Since the hardware restoration was pretty much done, it was time to start focusing on getting the OS to work. There were quite a few hurdles to take. These were the options so far:
- Use the MCL68+ CPU emulator. This wouldn’t work out of the box, for the simple reason that the original CPU sits on one of those very expensive IC foots with turned connectors. You can’t stick a header pin in them. So I need to find some kind of (long) header pins that are small enough to fit in there.
- Use a memory card, as originally intended. Well, we don’t know the card, and we don’t know how to get stuff on there even if we knew.
- Use serial. This could work, but serial communication needs some kind of protocol. This would require a custom boot rom etc. Nothing too spectacular, but I’d consider this if all else fails.
- Use custom EPROM’s with the OS as payload. This was pretty much my first option, but I never got it to work.
So I set out to map out all the pins on the memory card’s IDC connector and trace them to the various endpoints. I also spent some time on google trying to learn more about these 60 pin cards that basically predates the PCMCIA standard. I found out that Hammond used these type of cards (in 32k format) as did EMU in their Proteus MPS. Finding a service manual of a Proteus MPS and having traced most lines from the IDC taught us that the connection is pretty straight forward: 16 Address lines, 8 data lines and some additional stuff. From the little hardware document that exists, we know that:
Access to the cartridge can only be made byte wise, on even byte
locations ( D8 - D15 ).
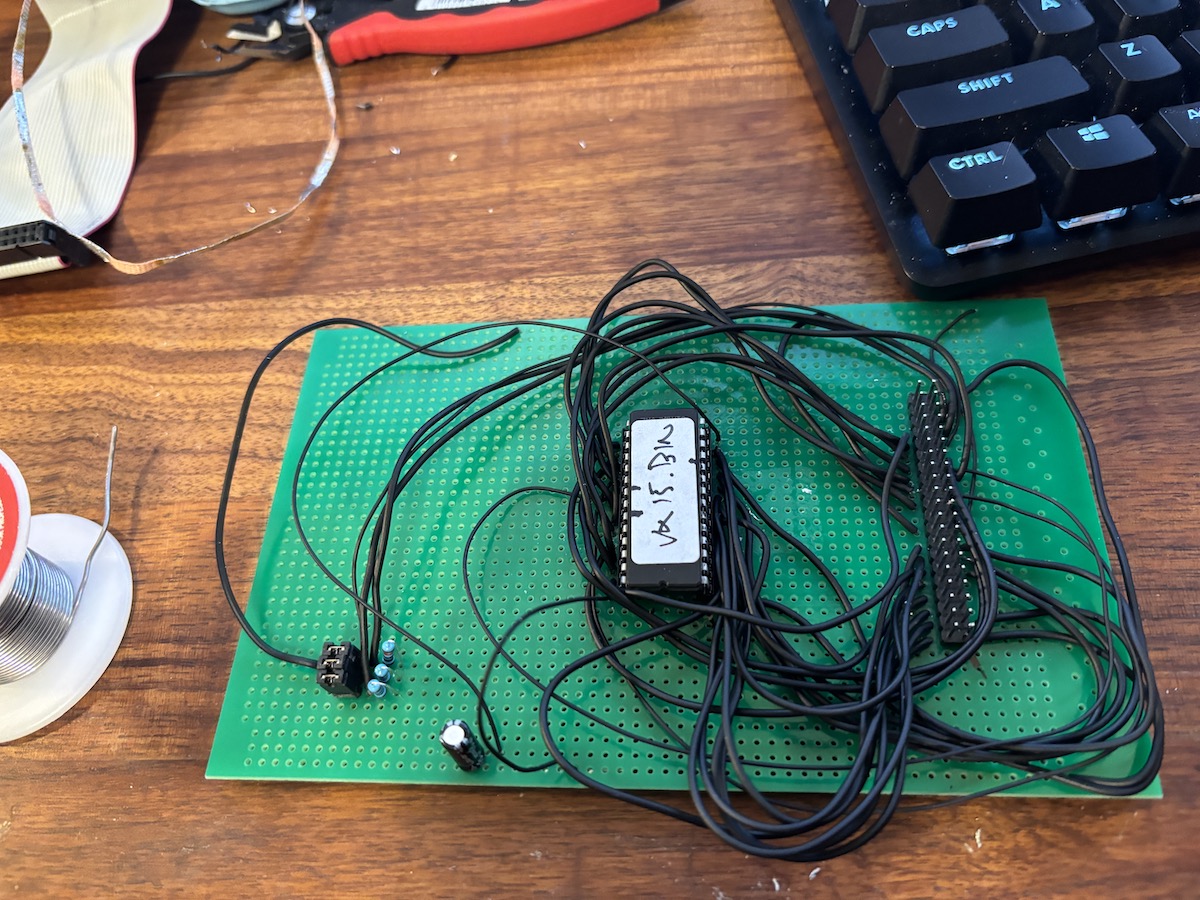
With this we figured we could connect an EPROM to this. There were some card sense options that basically describes what kind of card sits in there. The code provided some insight. Thanks to Paul – who incidentally has been such a huge help in this project, I went on to build something on a protoboard with a header, ic socket, jumpers etc. Attempt 1 failed because I’m daft, but the second one yielded some interesting results.

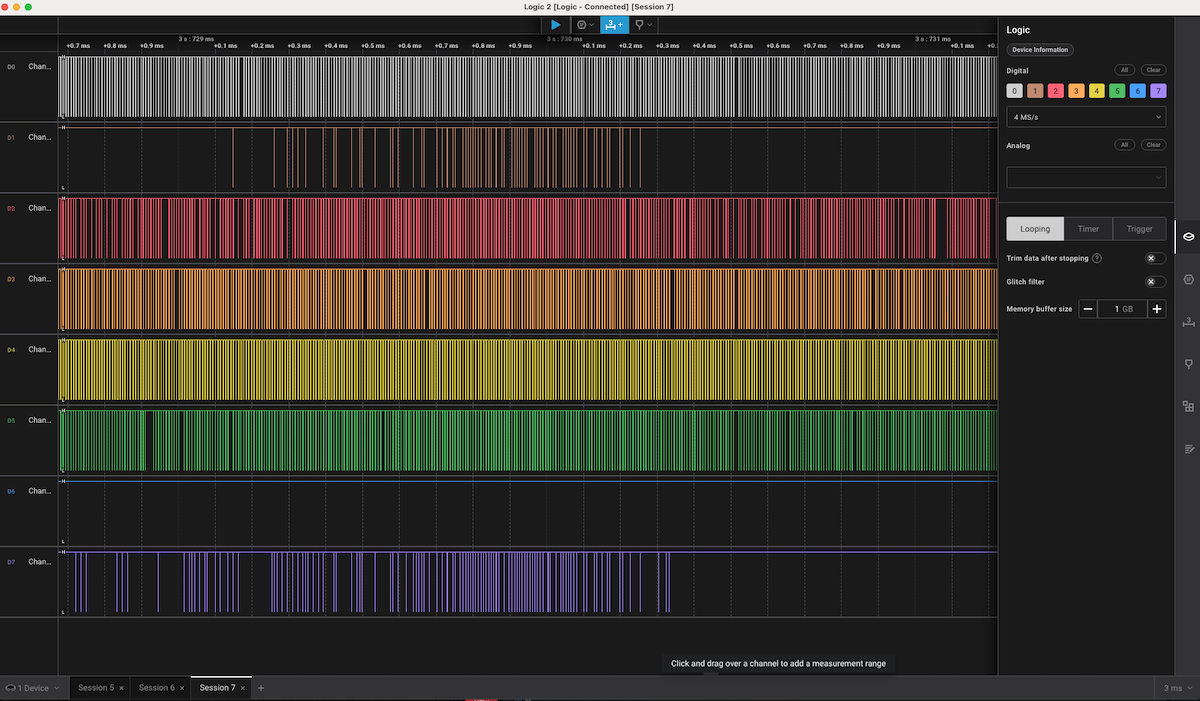
Armed with a logic analyzer, when plugged in and using the correct OS Load procedure, I noticed a lot of traffic on the data lines:

This told me a few things, based on the original EPROM code the startup goes something like this:
- Wait a few ms to settle the voltages
- check the RAM for a valid OS, it does this by checking an OS id and a checksum
- if either fails, sound the alarm bells (Buzzer ON)
- Wait until os load procedure starts
- When button pressed, check if there is a card, if that card has an OS ID
- If yes? Stop buzzer. Load OS into RAM
- Reboot.
Well, when I initiated the OS load, the buzzer went off. So it saw the card and recognized is as OS card. But after reboot, the alarm bells were back on.
So while data was being copied to RAM, it seemed that it didn’t stick in the ram. But that maybe a main board issue, not the cartridge we made!
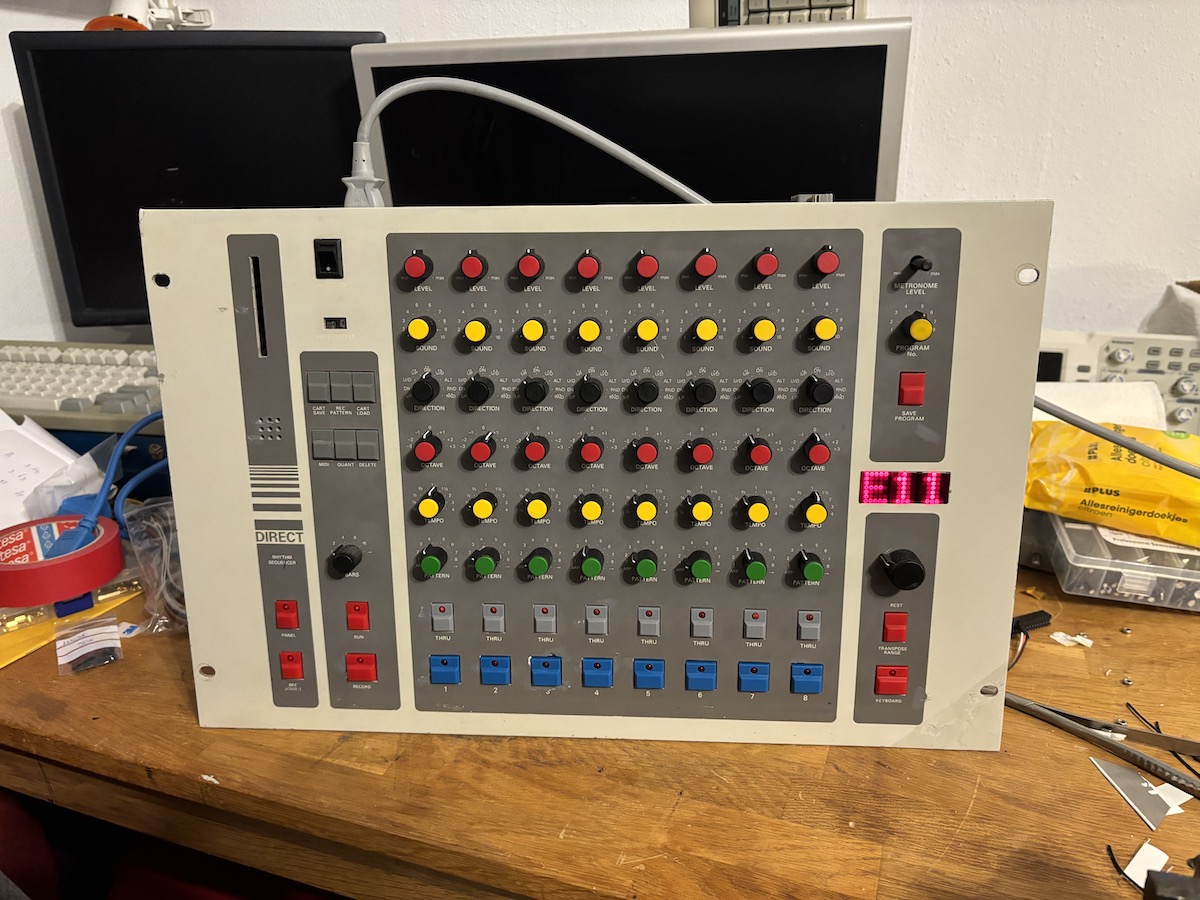
I then remembered that there was an option to skip the OS check during startup by holding a button while turning on. I did that and to my surprise, the display showed E11:

This was big news. E11 is indeed a predefined Error code. However, that code comes from the OS, not from the boot eprom. Which means the OS is actually in memory! In this case, E11 tells me that the Workspace Data memory region, needs to be formatted. You could do that by holding a few other buttons during startup, but since the OS check fails, this never works.
So why does the OS check fail? That is hard to determine directly, but moving some memory IC’s around result in unpredictable behavior, so that tells me that quite likely, one or more memory IC’s are not that healthy anymore. I could write a bit of assembly code that does a bit-for-bit memory test and I might do that, but for now, I sourced a load of new memory chips and wait for them to arrive.
There is also a lot of TTL logic that helps with memory allocation (perhaps because they designed the system for growth, it can use various memory sizes) – and maybe one of those TTL’s has gone tits-up. First I’ll try new memory when it comes in. The TTL’s are mostly not socketed, so when we have to come to that part of diagnosing, I’ll have to see if we can diagnose as much in circuit as possible. It was my original intention to socket all the IC’s, but the board is very fragile and de-soldering everything isn’t going to do it any favors, so I opted not to take that route.
So all in all, it looks like our pseudo memory card was a success! While I wait for new memory IC’s, I’ll turn my focus on building the MIDI breakout box.
Later on, since I now have a working Assembly workflow and better understanding on how the Odd/Even organization works, I want to recompile the original Bootrom from source, maybe take out some of the checks and see if I can force it to boot into the OS and force a Data Region memory format. Just in case it still goes nuts over the OS checksum.